

Greta's Goodies: DIY Pallet Sign
October 2, 2021
Items You’ll Need
- Old, weathered pallet
- 1-inch wide, small scraps of building-grade wood
- (4) ½-inch wood screws
- (2) 2-inch bolts (with nuts) (Be sure they will go through the support holes on your metal sign)
- (15-20) washers (that fit onto the bolts)
- Jigsaw or hand saw
- Hammer
- Drill and drill bit (the size of your bolts)
- Wood glue
- Decorative metal sign from Coastal (there are plenty to choose from)
Directions
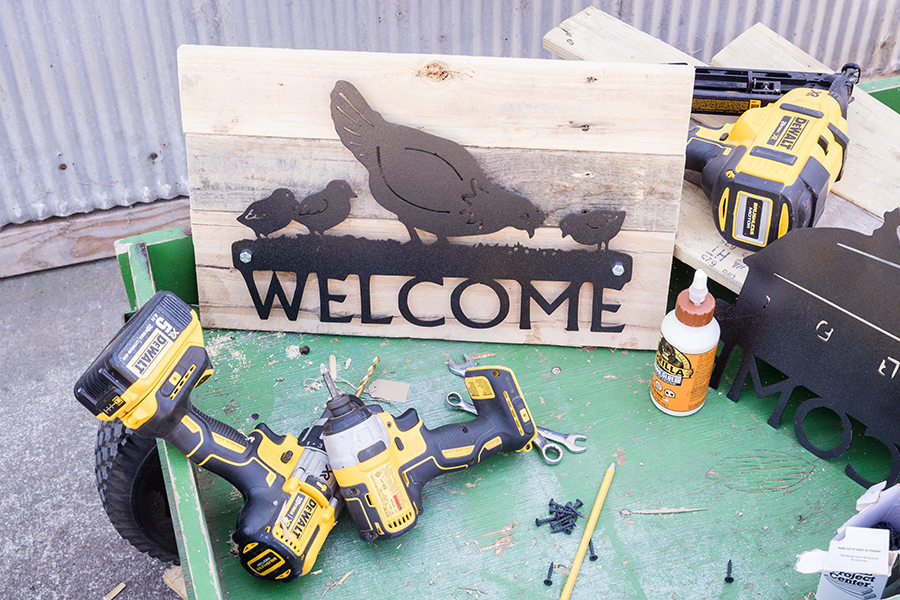
First, find the decorative metal sign you want at Coastal. Greta chose a “welcome” sign featuring chickens. Next, find an unused pallet that’s destined for the burn pile or trash. 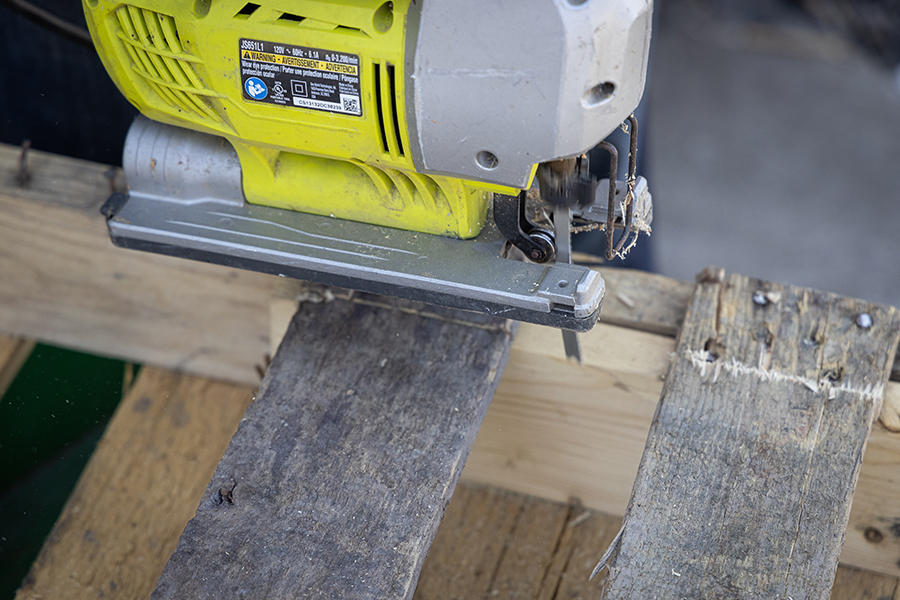
Using a jigsaw or hand saw, cut the ends of three boards on the pallet. Greta chose two that were barely weathered and one that had a lot of character. To free the wood from the pallet, you’ll need to remove the nails from the center joist. 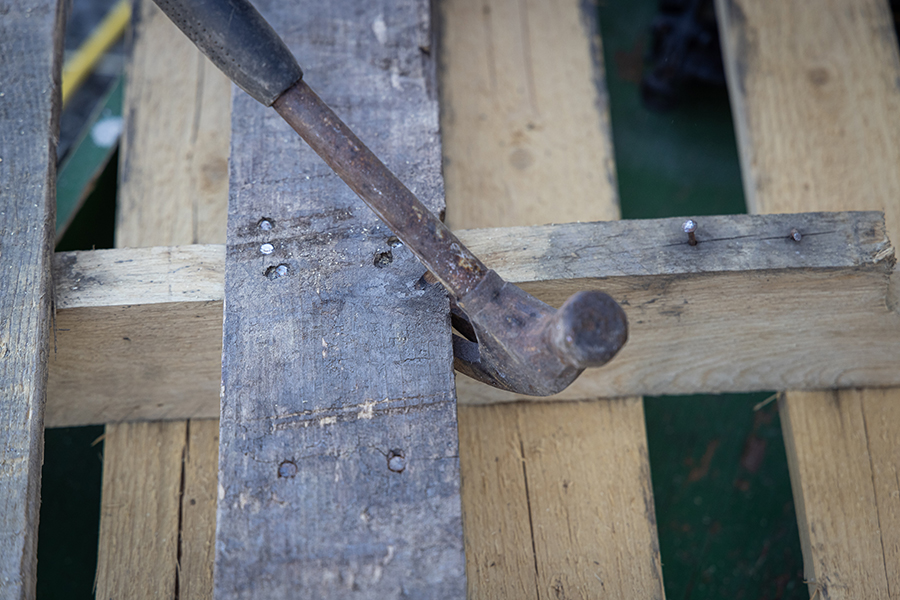
Pry your boards from the center joist using a hammer. 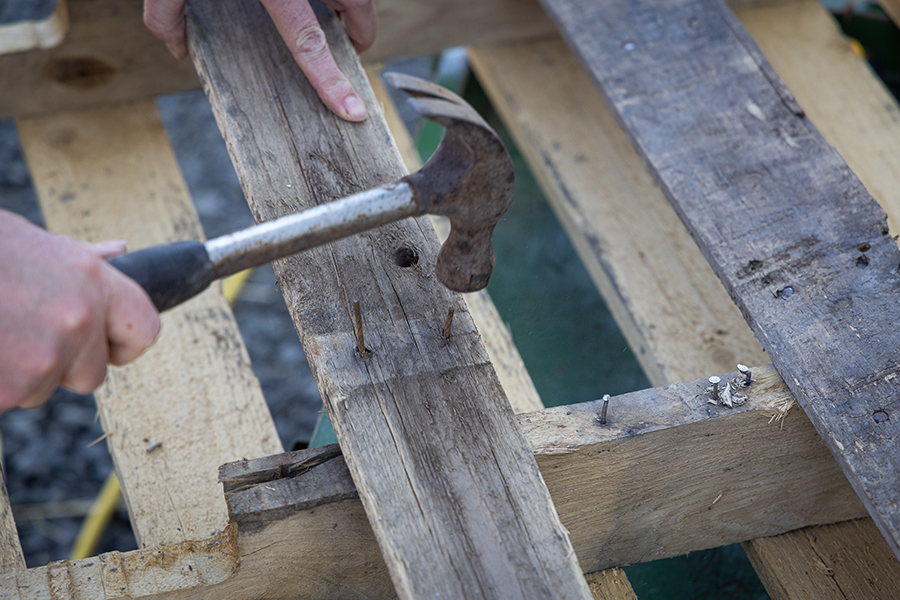
Once the boards are free, remove the nails. Turn the boards over and hammer the nails back out. Be careful as some of the nails could be rusty. 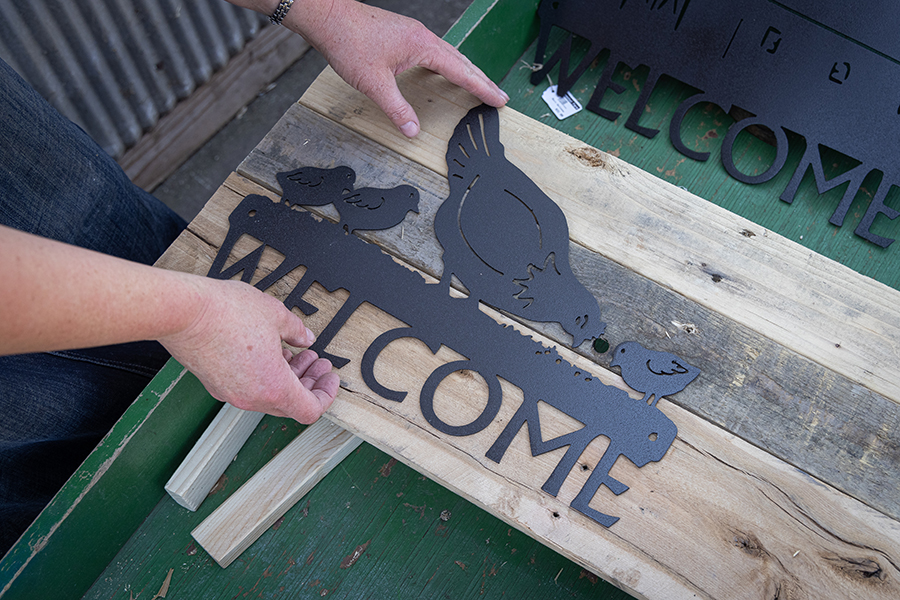
Line up your three panels of wood and then place the metal sign on it. This will help you decide how much of the ends (of the wood panels) to remove. Mark your preferred size with a ruler and cut one end of each wood plank so the metal sign will fit nicely. 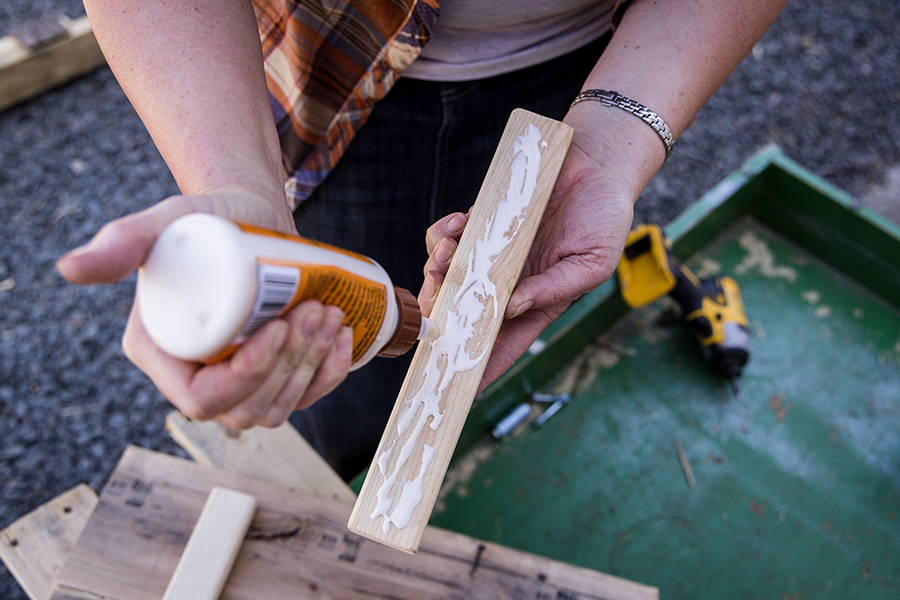

Using your small scraps of wood, add some glue to adhere them to the back of your new sign. These will be the supports that hold the wood planks together. 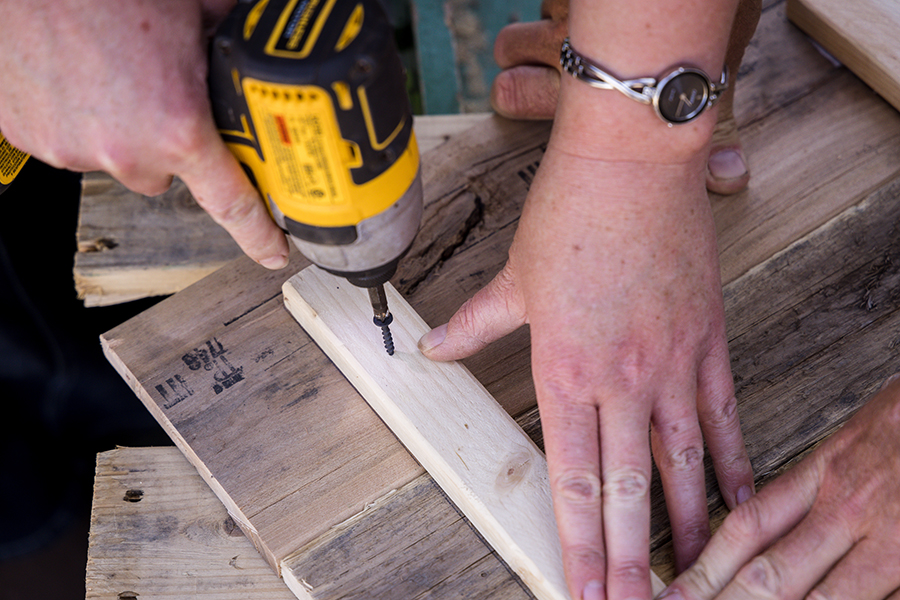
Screw the supports to the wood planks in four places. Be sure the screws do not pop through the front of your masterpiece. 
Place your sign on the front and mark the hole locations. If your sign doesn’t have pre-drilled holes, you may need to add some for support and aesthetics. 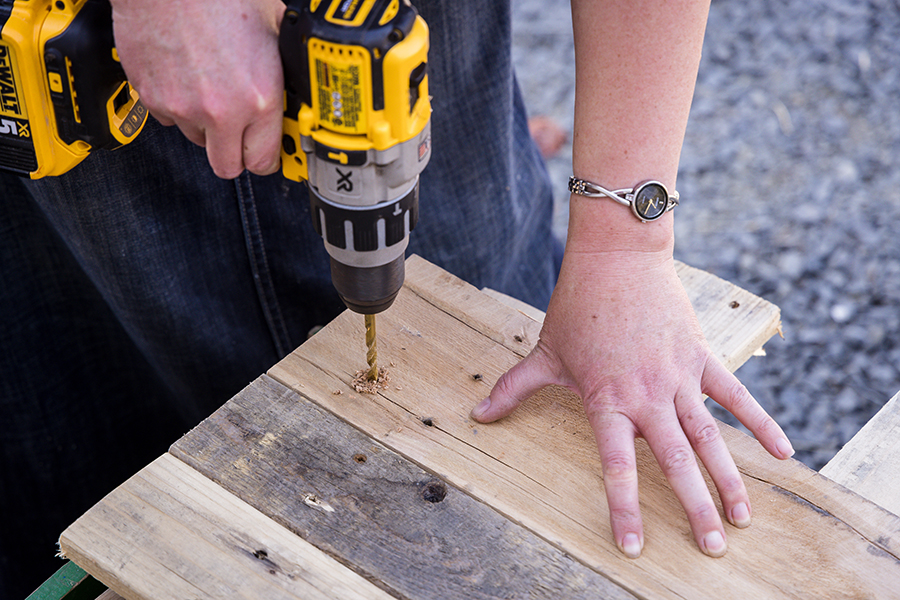
Pre-drill the holes for the bolts. 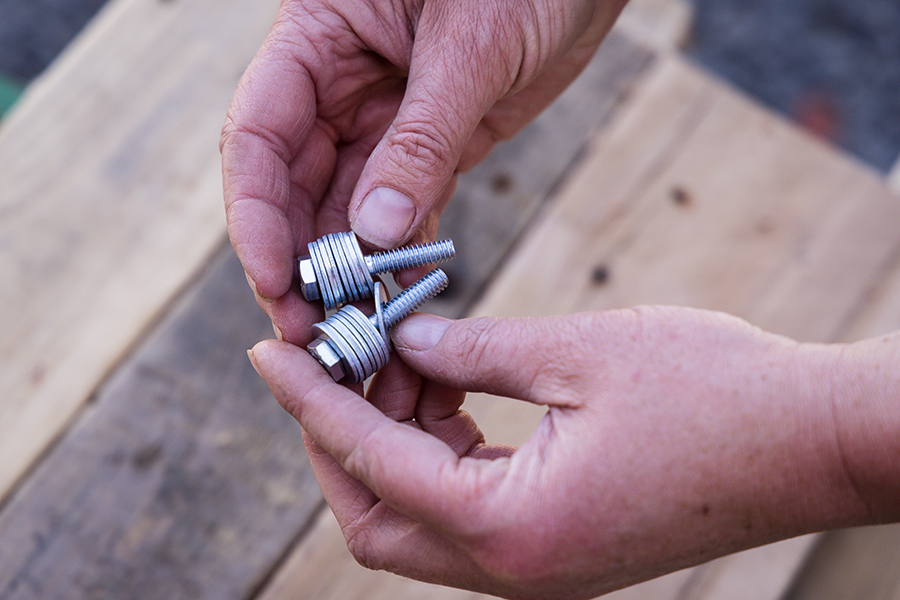
Add 5-10 washers to both bolts. Use the same number of washers on both bolts. This will help lift the sign off the wood and give it some depth. 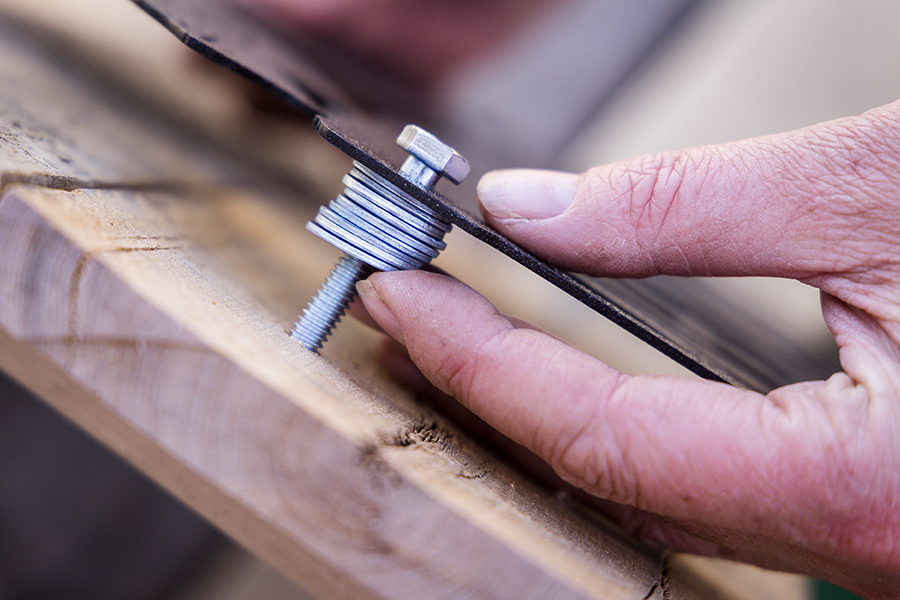
Push each bolt through the sign, through the washers, and then through the wood. 
Tighten the back of each bolt with a nut. Make sure each bolt is secure but not so tight that it bends the metal or cracks the wood. 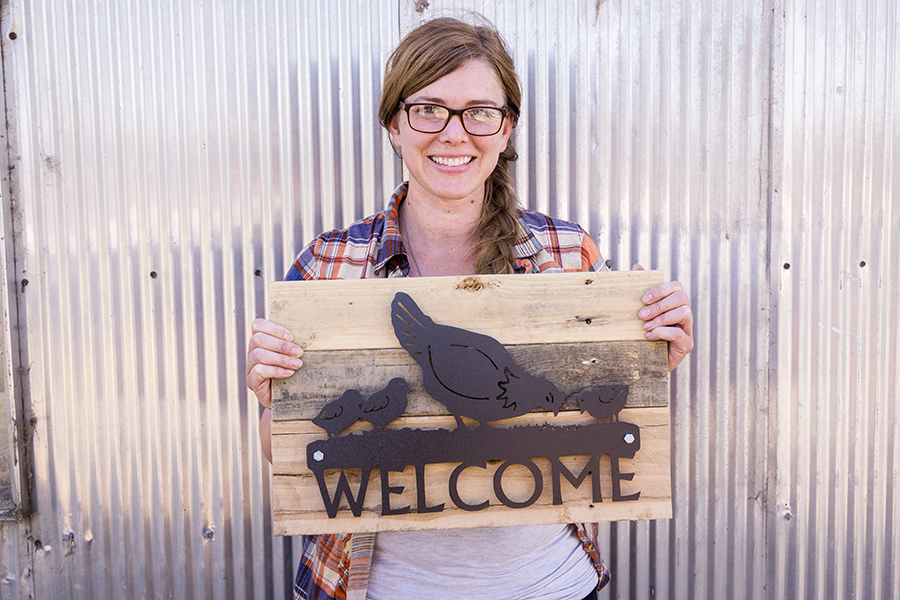
Your new bit of country décor is ready for your home. It can also make the perfect handmade gift. To hang it on her wall, Greta hammered in some small nails and added some wire between them.