

Quick and Long Term Pickling
September 5, 2020
One of life’s simplest pleasures is enjoying pickled, fresh vegetables all year long. While it might sound difficult, pickling is one of the easiest ways to preserve and transform your garden harvest. All you need are some step-by-step directions and advice to get started on your own pickling adventure.
Trust the Experts
Both Oregon State University Extension Service and Washington State University Extension Service have a long list of safe recipes and advice, whether you’re pickling carrots, canning tomatoes, or preserving meat. If you have a question about canning and pickling, don’t just guess. Call OSU’s no-cost food safety and preservation hotline, open every summer through October at 1-800-354-7319.
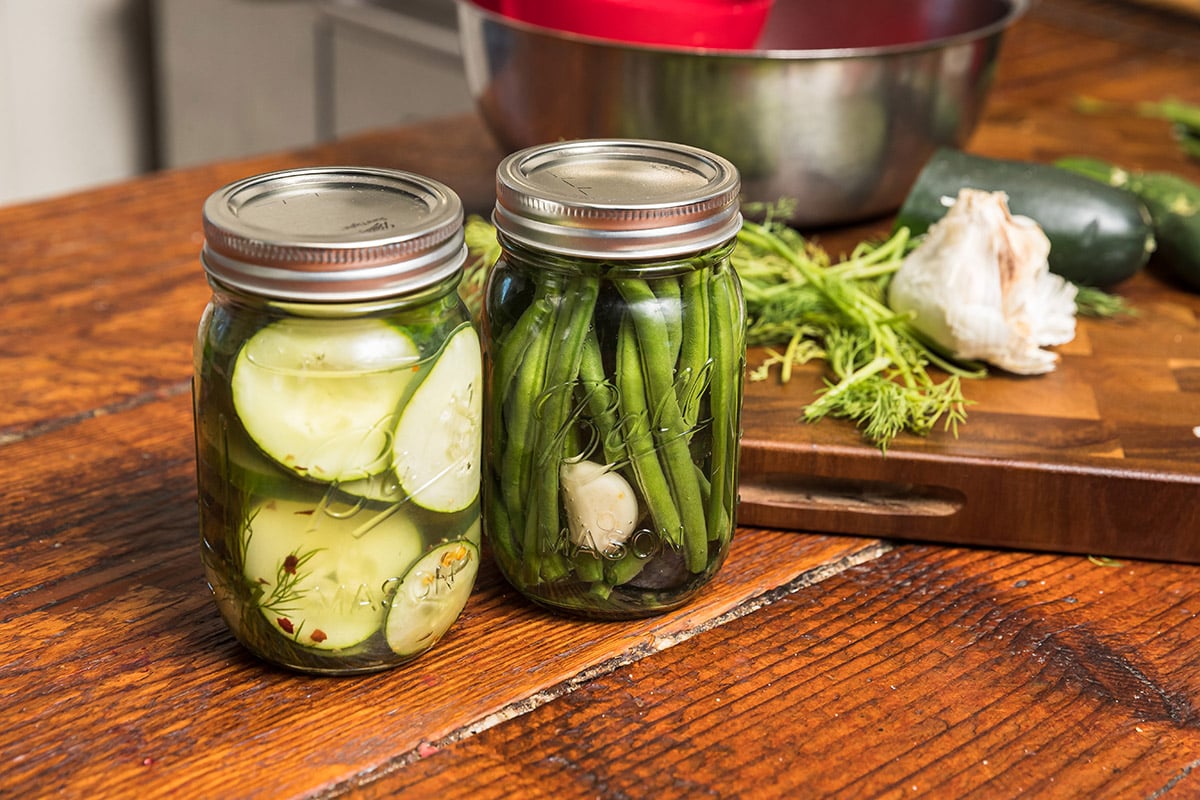
Quick (and Easy) Pickling
Also known as refrigerator pickling, you can quick pickle just about any vegetable from your garden or the farmer’s market. All you need are veggies, vinegar, salt, sugar, and water. Another option is Ball® Kosher Dill Pickle Mix.
Coastal tips: Quick pickling does not require canning, but quick-pickled jars will not last nearly as long nor taste quite as good as proper canning.
Step 1: Clean Your Jars. Hand wash the jars and lids and allow them to air dry.
Step 2: Wash and prepare the vegetables. Peel and dice the carrots, leave your cherry tomatoes whole, and blanch any of your green vegetables to preserve their color. Blanching is the process of placing the vegetables in boiling water for just a minute or two and then quickly placing them in an ice-water bath.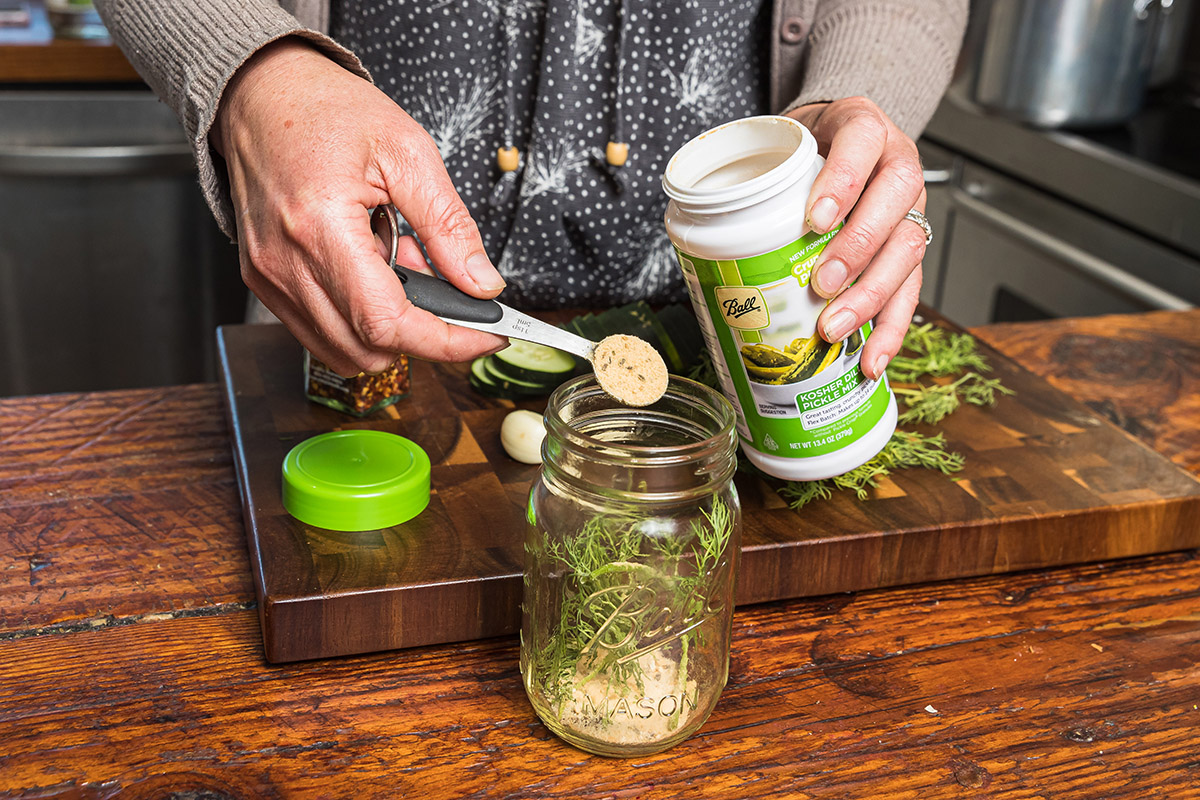
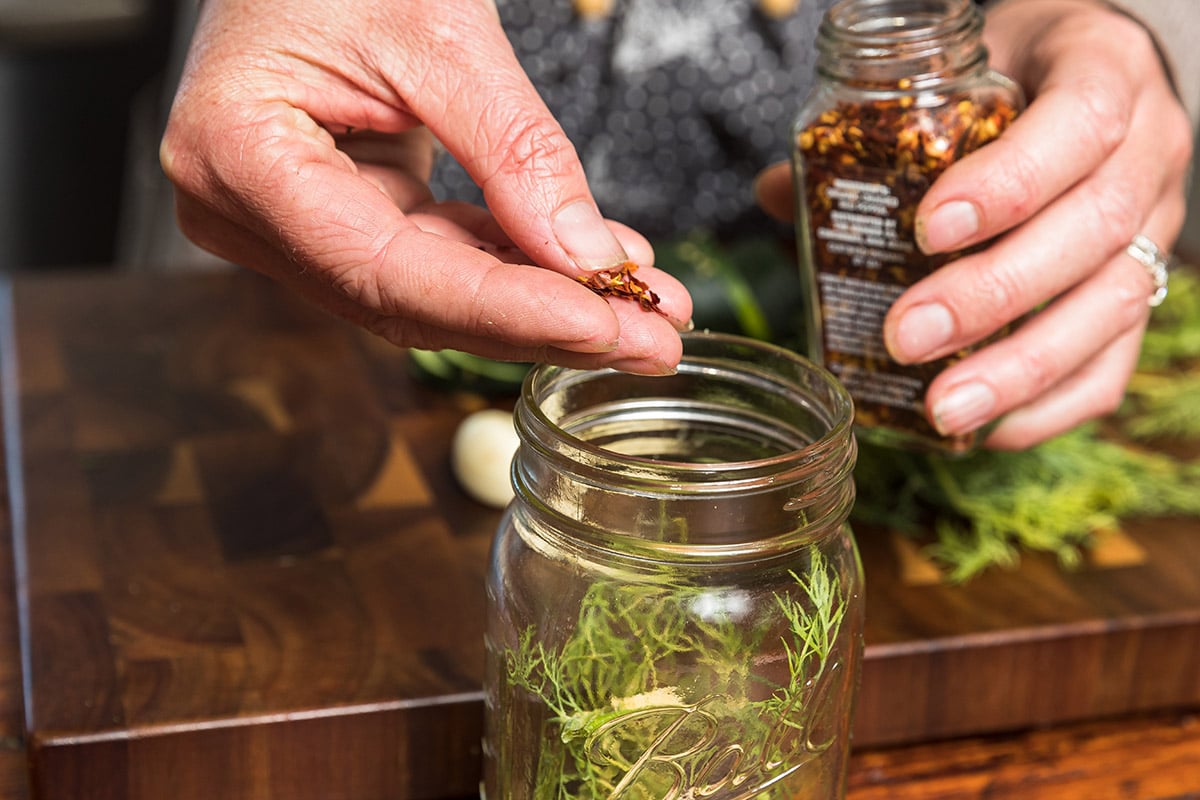
Step 3: Add flavor to every jar. You can use herbs, garlic, and other spices. Some of our favorites include: dill, thyme, oregano, rosemary, ginger, mustard seed, peppercorns, and turmeric. Just be careful not to use too much of any flavor as they can overpower your vegetables. We added Ball® Kosher Dill Pickle Mix and thyme to our jars.
Step 4: Create your brine. You’ll need 1 cup of water, 1 1/3 cup white vinegar, 1/3 cup granulated sugar, and 2 tablespoons kosher salt. Mix the ingredients in a saucepan and bring to boil until it all dissolves. Allow to cool for at least 10 minutes before moving to step 5.
Coastal Tip: Remember to add enough vinegar to prevent bacterial growth. Check out recipes from Oregon State University Extension Service. 
Step 5: Add the brine to your jars. Leave 1/2 inch at the top. Then remove all the air bubbles and screw the lids on tight.
Step 6: Let the jars cool to room temperature before placing in the refrigerator. While it might be difficult, try to wait a few days before opening any of the jars to allow the flavors to mix and mingle.
Canning Brined Pickles
Anytime you add enough acidity to your canning, harmful bacteria cannot grow. As long as you do your canning correctly, you and your family will enjoy safe and flavorful veggies all winter long. To can your pickles, you’ll need some time, canning materials, and recipe basics from either Oregon State University Extension Service or Washington State University Extension Service.
Making Your Own Dill Pickles
You’ll need 4 pounds of cucumbers, 2 tablespoons of dill seed (or 5 heads of fresh, dry dill), 2 cloves of garlic, 2 dried red peppers, and 2 teaspoons whole mixed pickling spices of your choice. To make the brine, you’ll need 8 cups of water, ¼ cup vinegar (5% acidity), ½ cup salt.
Step 1: Clean Your Jars. Hand wash the jars and lids and allow them to air dry.
Step 2: Wash the cucumbers and cut a 16th of an inch off the blossom end while leaving ¼ inch of the stem.
Step 3: Add your dill and half of your other ingredients to the bottom of the jar.
Step 4: Add the cucumbers, the rest of the dill and other spices.
Step 5: Create your brine by mixing the water, vinegar and salt in a saucepan and bring to boil. Allow to simmer for five minutes.
Step 6: Pour the hot brine over the cucumbers, leaving 1/2 inch of headspace.
Step 7: Remove air bubble, wipe rims and add lids.
Step 8: Process in a water canner following lower-temperature pasteurization treatment processes found in publications from both Oregon State University Extension Service and Washington State University Extension Service.
Get Your Canning Supplies at Coastal
You’ll find all of your canning supplies at your Northwest owned and operated Coastal. That includes lids and bands, jars, pressure canners, citric acid additives, measuring devices, and advice from folks who know how canning works. Stop by today and get what you need, all in one location.