

The Art of Freezing & Canning Corn
August 28, 2020
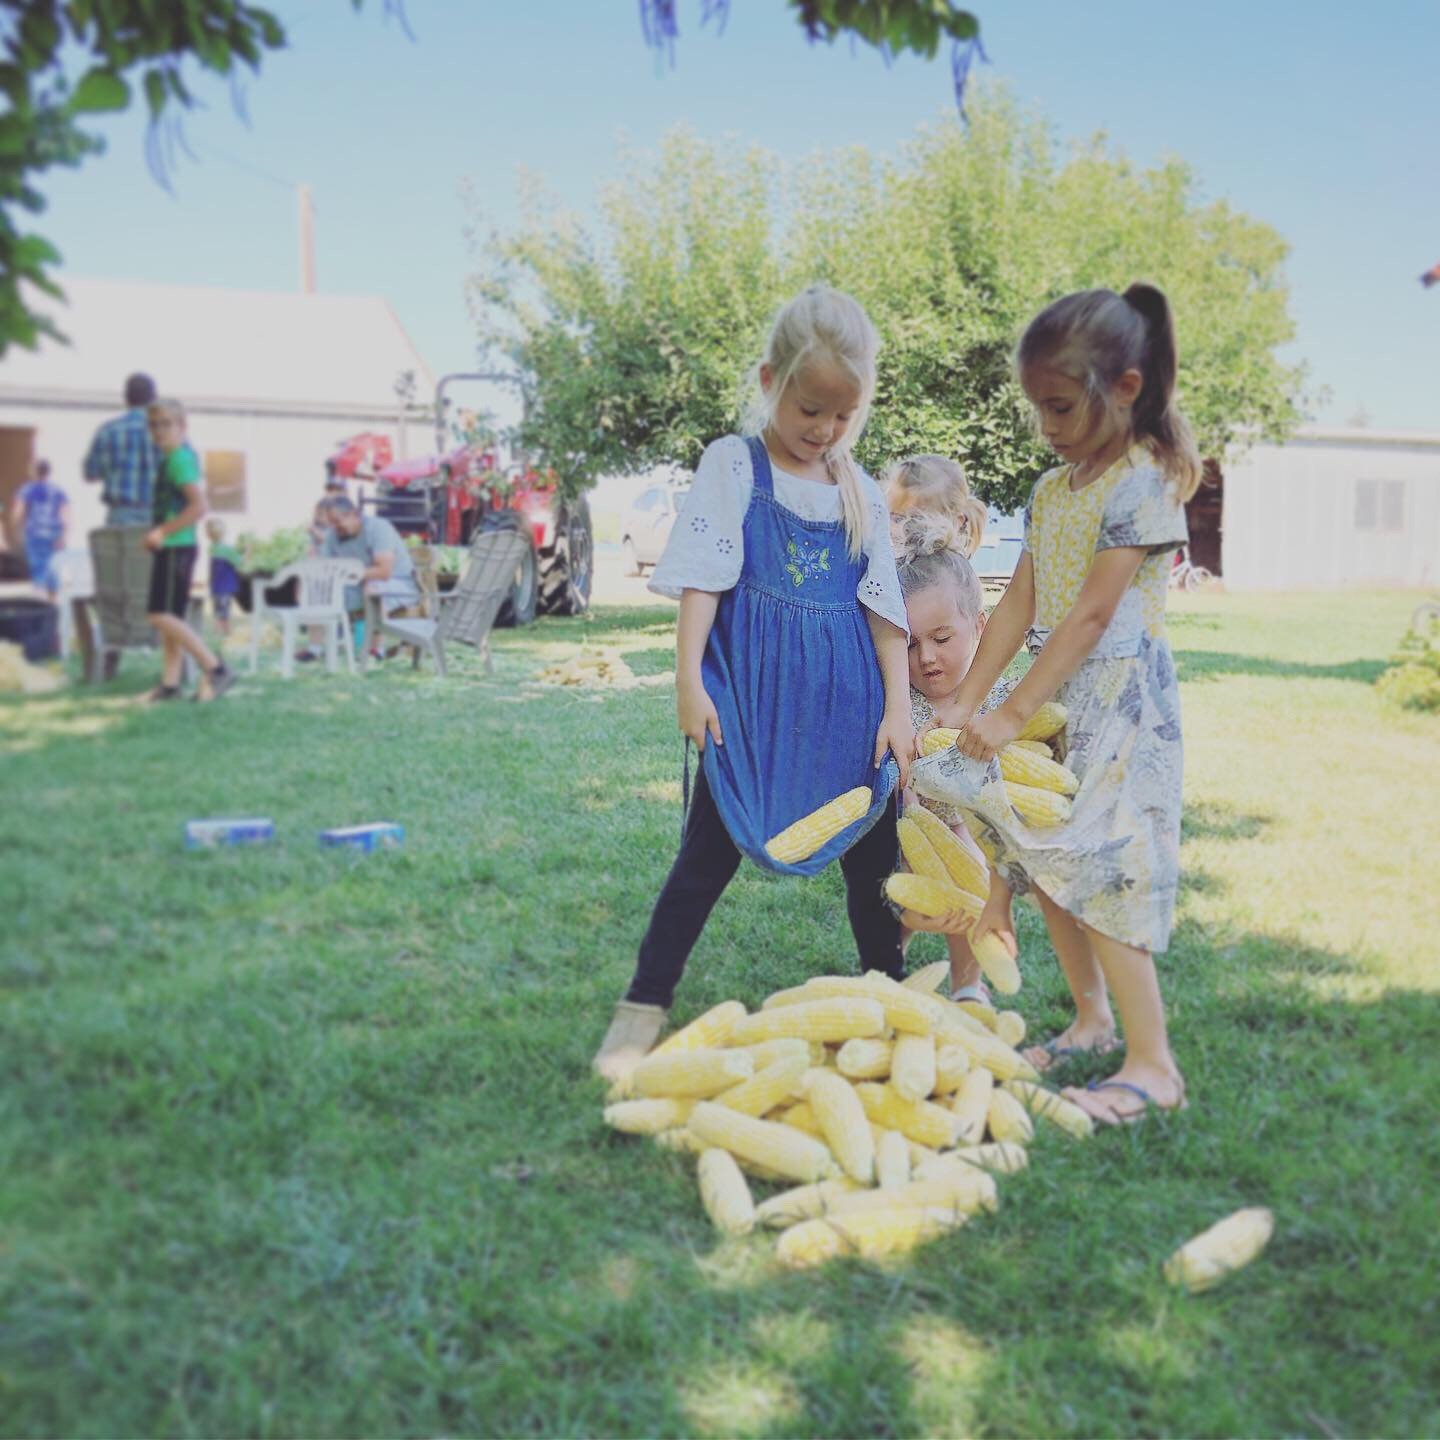
If you planted rows of corn earlier this year, you’re likely staring at a great crop, just like Coastal employee Jess and his friends. Even if you don’t have a garden, farmer’s markets are flush with nature’s most famous yellow veggie. It might be impossible to eat your weight in corn right now, but you can freeze and can it for later this winter. And if you have more than a few friends and family members to help with the harvest, it won’t take long at all.
The Experts Know Best
Oregon State University Extension Service and Washington State University Extension Service offer recipes and advice on canning and freezing corn and other vegetables, as well as fruit and meat. If you have questions, call OSU’s food safety and preservation hotline, open every summer through October at 1-800-354-7319.
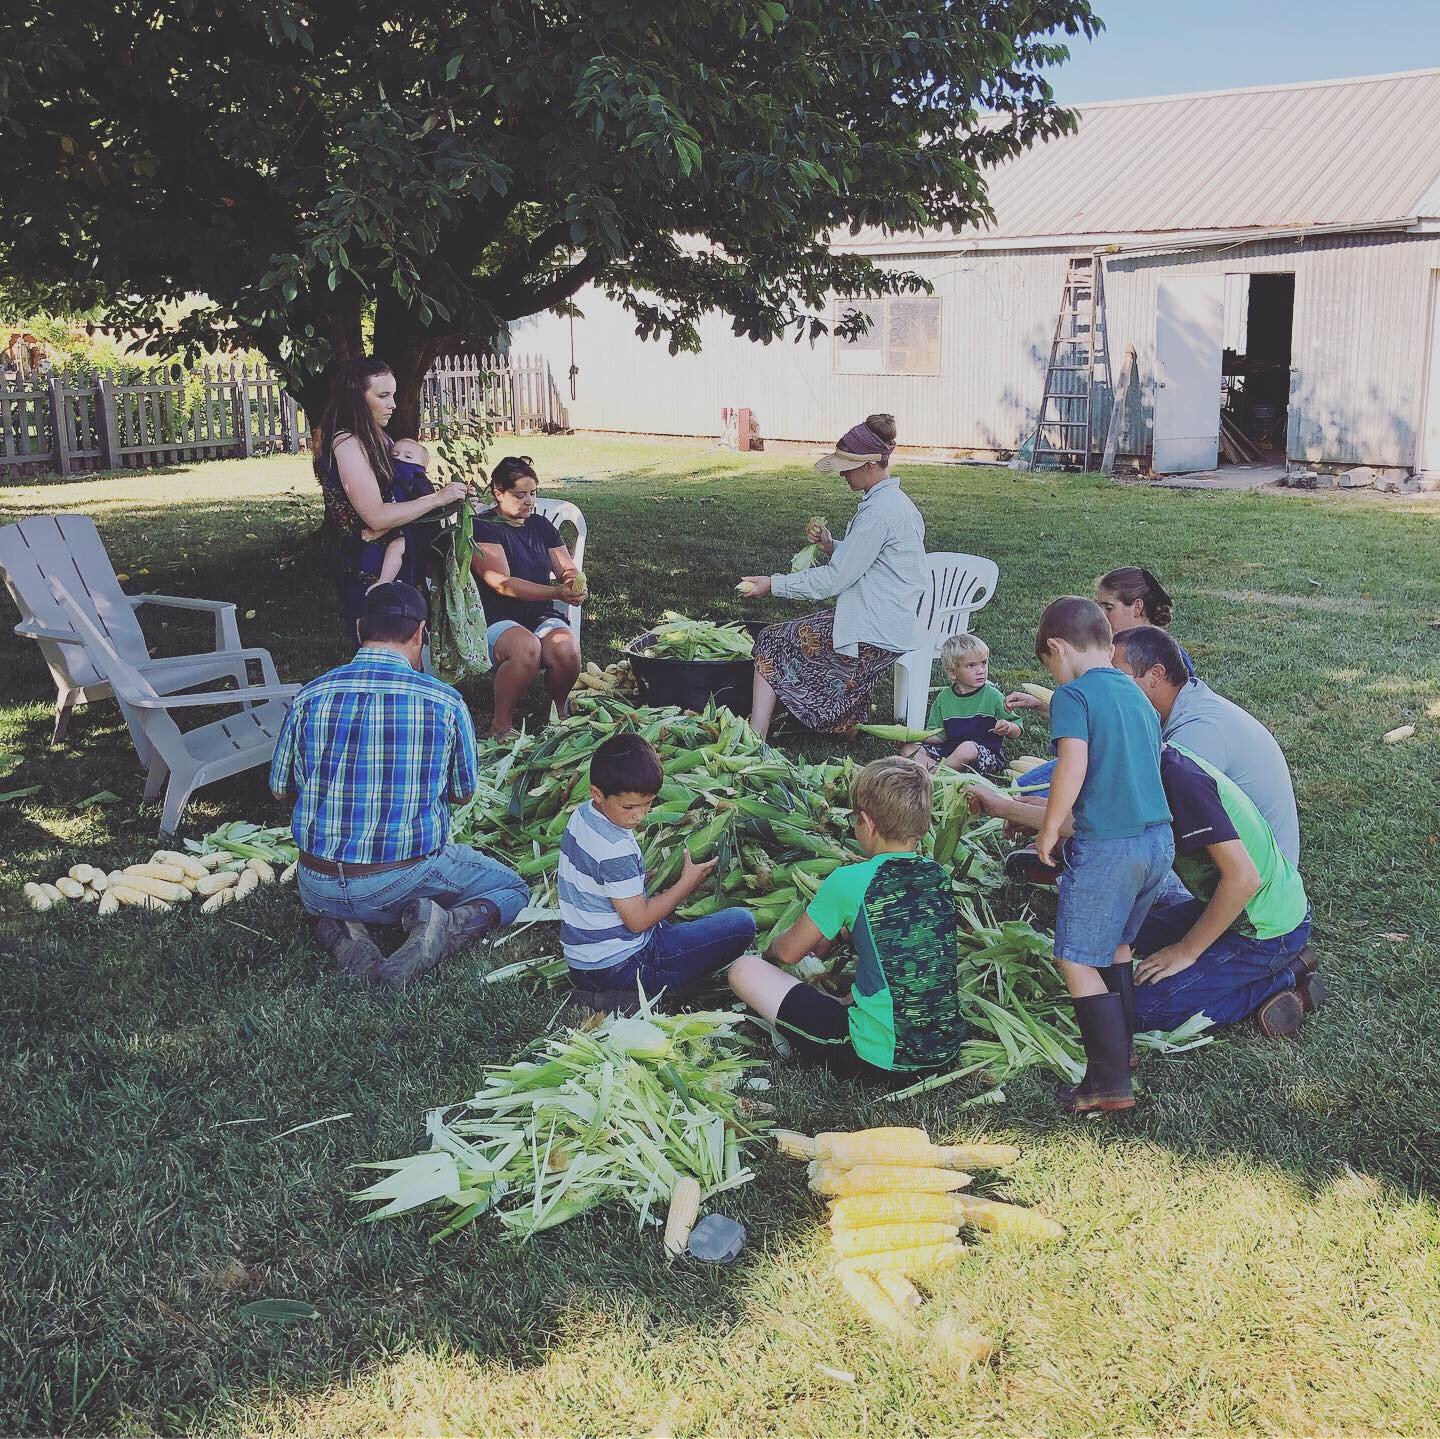
Harvest and Husk
When you’ve grown your own corn, you have the added step of harvesting. It’s a simple matter of plucking the ears from stalks. Husking is the process of removing the green leaves (the husks) and hairs, leaving only the corn and the cob.
Coastal tip: it takes 3-6 pounds of corn to fill a quart jar, and a bushel of corn can yield up to 10 quarts.
Preparing Your Corn
Once the husk and silk are removed, blanch your corn on the cob for 4-5 minutes. Blanching isn’t difficult. Simply fill a large kettle with water and heat it to a rolling boil. Then, carefully place your corn into the water. Oregon State University Extension Service recommends you use 1 gallon of water for every pound of corn.

Next, put your recently blanched corn on the cob into a cold-water bath.

Once cool, you can scrap the corn off the cob. We used a board with an attached scraper to make the job easy, but a knife and careful attention work just as well. Collect the corn into a bin.

Freezing is Easy
To freeze corn, pack the golden veggies into moisture-resistant freezing containers. Leave 1/2 inch headspace before sealing and freezing your corn at or below 0º F. You can also freeze the whole cobs by blanching for up to 11 minutes for larger ears, cooling in water, draining, and then wrapping the ears in freezer paper.
Canning Perfection
Remember to follow canning direction for safe food preservation. For a complete step-by-step, download the Preserving Corn publication from Oregon State University Extension Service. If you live above 1,000 feet in elevation, contact Oregon State University Extension Service or Washington State University Extension Service for safe canning techniques in your area.
Raw Packing Directions
Step 1: pack the corn loosely into jars. Leave 1 inch of headspace.
Step 2: add ½ teaspoon of salt per pint. Fill the jars with boiling water to just the top of the corn.
Step 3: remove air bubbles by running a knife between the food and the jar.
Step 4: wipe the rim, adjust the lid, and process in a pressure canner at 240º F. Pints take 55 minutes while quarts require 85 minutes.
Properly canned corn may be safe for up to 12 months when stored in a cool, dry location.
Get Your Canning Supplies at Coastal
Stop by your Northwest owned and operated Coastal today where you’ll find Ball® Quart Jars with lids and bands, as well as the Presto 23-quart Pressure Canner and cooker designed for easy, confident home pressure canning. Have questions about canning? Ask one of our employees and they’ll point you in the right direction.